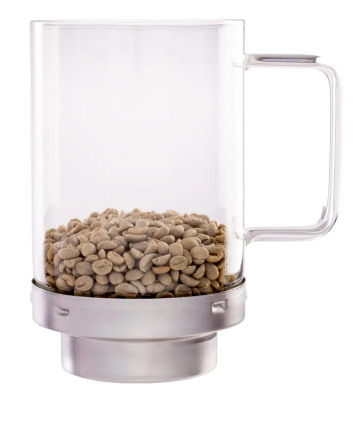
5 Common Mistakes Beginners Make with Fresh Roast Roasters (and How to Avoid Them)
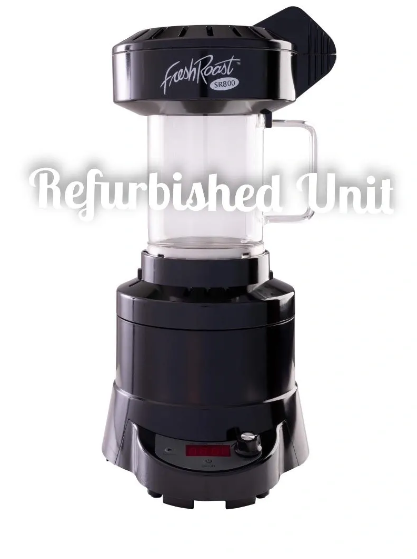
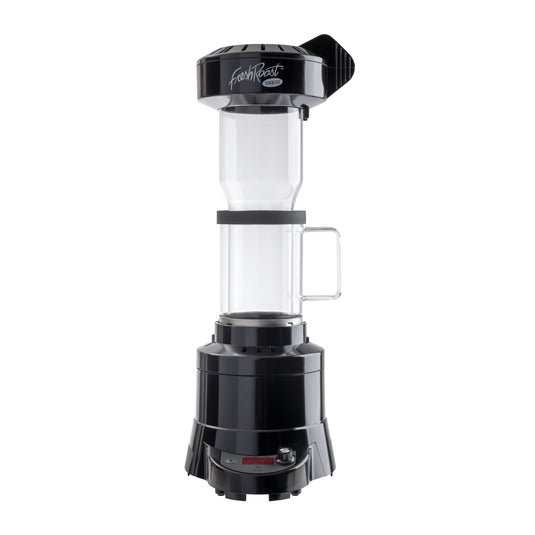
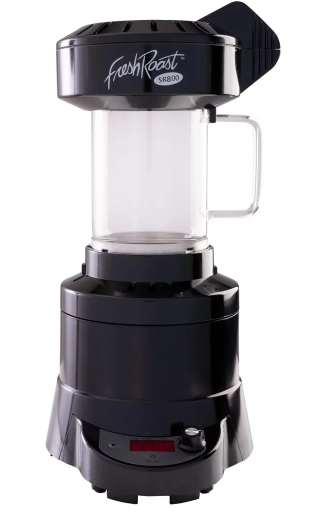
Starting your journey with home coffee roasting is exciting. The smell of fresh beans cracking, the anticipation of tasting your own roast, and the satisfaction of controlling every step are part of the appeal. But as with any new skill, beginners often stumble into the same traps. This is especially true when using Fresh Roast fluid-bed roasters like the SR540 and SR800.
In this guide, we’ll break down five of the most common mistakes new roasters make and, more importantly, how to avoid them. Whether you’re brand new to roasting or just want to refine your process, these tips will save you time, beans, and frustration.
Mistake #1: Overloading the Roaster
One of the most common issues beginners face is putting too many beans into the chamber. While it’s tempting to maximize every roast, overfilling prevents hot air from circulating properly.
Why This Matters
Fresh Roast roasters use a fluid-bed system. This means beans need space to float and move as hot air circulates. If the chamber is overpacked:
-
Airflow is restricted.
-
Beans roast unevenly, leaving some underdeveloped and others scorched.
-
The roast takes longer, increasing the risk of tipping or scorching.
How to Avoid It
-
Stick to the recommended batch sizes:
-
SR540: ~120g (about 4 scoops)
-
SR800: ~226g (about 8oz)
-
-
Start with slightly smaller batches until you learn how airflow looks and sounds.
-
Consider accessories like the Fresh Roast EXT Tube for better bean circulation.
Tip: If beans aren’t moving freely within the first 30 seconds, you’ve probably overloaded the chamber.
Mistake #2: Ignoring First and Second Crack
New roasters often miss the importance of listening for audible cues during roasting. Coffee beans go through two major cracking stages:
-
First crack: Beans expand, releasing steam and pressure. This marks the transition from light to medium roast.
-
Second crack: Oils move to the surface. This is where dark roasts develop.
Why This Matters
Missing these stages can ruin a roast:
-
Stop too early (before first crack): beans taste grassy and sour.
-
Go too far past second crack: beans burn, creating bitter, ashy flavors.
How to Avoid It
-
Roast in a quiet environment to clearly hear the cracks.
-
Watch the roast color through the glass chamber.
-
Keep notes on timing: Most Fresh Roast users hit first crack around 4–6 minutes and second crack between 8–10 minutes, depending on the bean.
External Resource: Barista Hustle provides excellent breakdowns of roast stages and what they mean for flavor development.
Mistake #3: Neglecting Cooling Time
After roasting, beans need to cool quickly to stop the cooking process. Beginners sometimes leave beans in the chamber, thinking they’ll cool on their own.
Why This Matters
-
Coffee beans retain heat after roasting.
-
Without rapid cooling, beans continue to cook, leading to over-roasted, flat flavors.
How to Avoid It
-
Use Fresh Roast’s built-in cooling cycle.
-
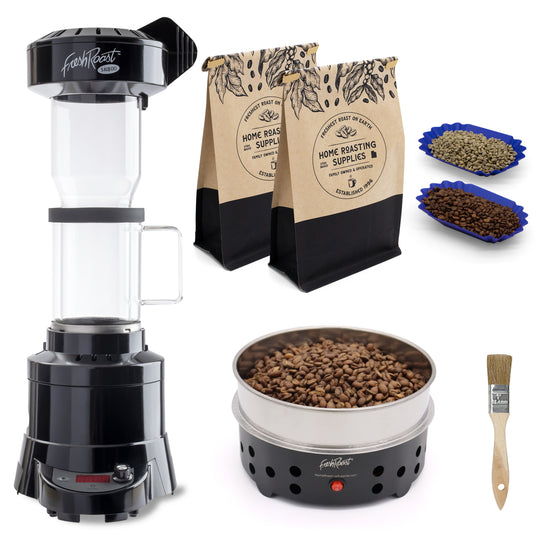
For larger batches, consider pairing your roaster with a dedicated bean cooler. This speeds up cooling and keeps roast profiles consistent.
Tip: Aim to cool beans to room temperature within 3–4 minutes.
Mistake #4: Not Tracking Roast Profiles
Many beginners roast by sight or smell only, but forget to keep detailed roast notes.
Why This Matters
-
Without tracking, it’s hard to repeat successful roasts.
-
Notes help you learn how different beans respond to time, temperature, and airflow.
How to Avoid It
-
Record the following each roast:
-
Bean origin and batch size
-
Time of first and second crack
-
Final roast time
-
Fan and heat settings
-
Tasting notes after resting 24–48 hours
-
-
Apps and simple spreadsheets work great. Over time, you’ll build a library of roast profiles.
External Resource: The Specialty Coffee Association offers guidelines on roast curves and logging practices.
Mistake #5: Not Letting Beans Rest
Freshly roasted coffee smells amazing, but brewing immediately after roasting is a mistake.
Why This Matters
-
Roasted beans release CO₂ for several days (degassing).
-
Brewing too soon leads to sour, inconsistent cups.
How to Avoid It
-
Allow beans to rest at least 24 hours before brewing.
-
For medium roasts: 2–3 days of rest.
-
For darker roasts: 3–5 days is often best.
Store cooled beans in an airtight container away from light and moisture. For longer storage, consider vacuum-sealed containers.
Tip: Always mark roast date on your container. This helps track freshness and flavor peaks.
Bonus Mistake: Not Cleaning the Roaster
Built-up chaff and oils reduce airflow and affect flavor. Beginners often forget this step.
How to Avoid It
-
Empty the chaff collector after every roast.
-
Wipe the chamber and base unit regularly.
-
Avoid water—stick to dry cleaning methods like brushes or vacuums.
Mastering Your Fresh Roast Journey
Using a Fresh Roast roaster is one of the most accessible and rewarding ways to roast coffee at home. Avoiding these beginner mistakes—overloading the chamber, missing the cracks, skipping cooling, forgetting roast notes, and brewing too soon—will help you roast with confidence and consistency.
If you’re ready to take control of your coffee experience, check out the Fresh Roast SR540 or the SR800. With practice and attention to detail, you’ll be enjoying café-quality coffee from your own kitchen.


