


How to Blend Your Own Coffee at Home Using Fresh Roast Machines
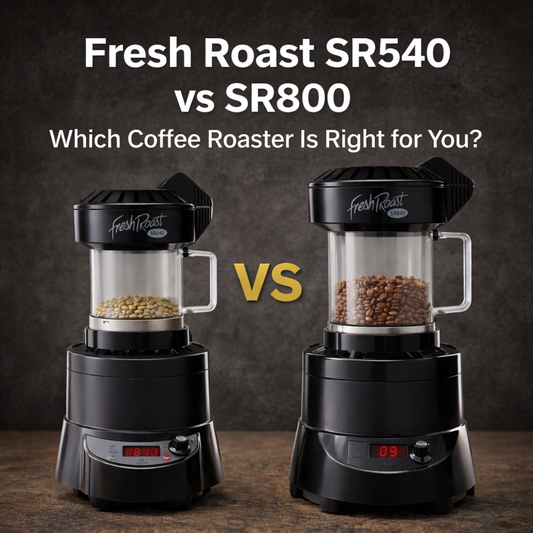
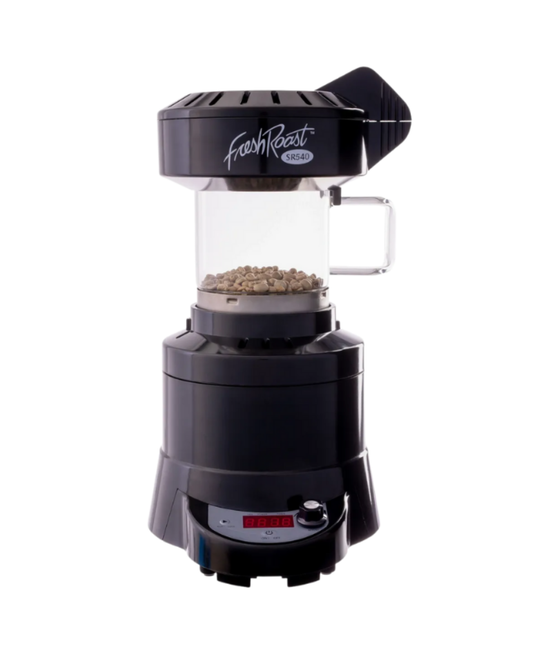
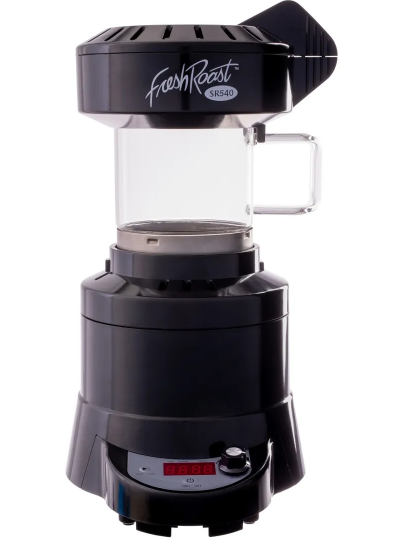
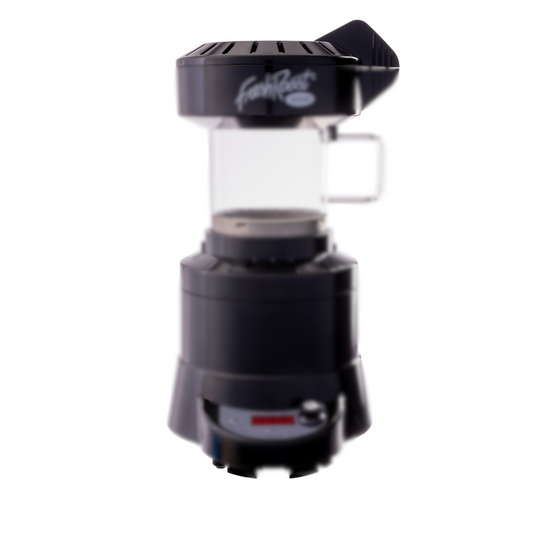
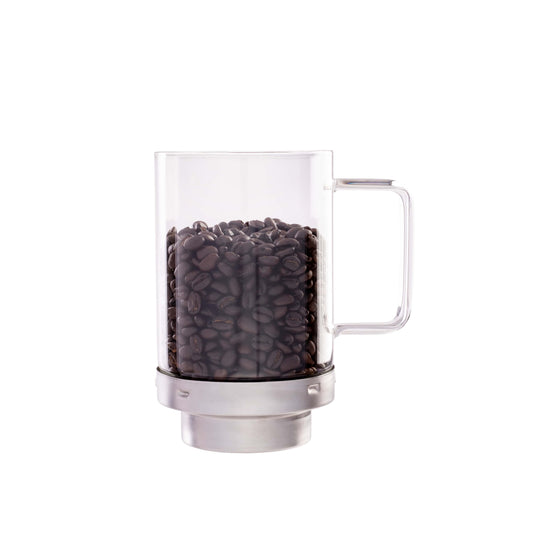
One of the most exciting parts of home roasting is the freedom to experiment. While single-origin coffees showcase the flavors of a specific region, coffee blends allow you to create something unique: a cup that balances brightness with body, sweetness with depth. With a Fresh Roast roaster, like the SR540 or SR800, blending becomes both approachable and rewarding.
This guide will walk you through the art and science of blending coffee at home, from why blends matter to how you can design your own step-by-step.
Why Blend Coffee?
Blending is a centuries-old practice in coffee. Cafés and roasters blend beans for:
-
Balance: A blend smooths out sharp acidity with richer, rounder flavors.
-
Complexity: Multiple origins contribute layers of taste.
-
Consistency: Blends help maintain flavor even when single-origin beans vary seasonally.
-
Creativity: Allows you to craft a signature flavor profile tailored to your preferences.
Perfect Daily Grind explains why coffee roasters often rely on blending to create unique house profiles.
Step 1: Understand the Building Blocks of Blends
When blending coffee, it helps to think in terms of roles each bean plays:
-
Base Bean: Smooth and mild, often Brazilian or Colombian. Provides body and sweetness.
-
Highlight Bean: Bright and fruity, like Ethiopian or Kenyan. Adds complexity and acidity.
-
Depth Bean: Bold and earthy, such as Sumatran. Contributes heaviness and dark chocolate notes.
Example: A blend might be 60% Brazilian (base), 25% Ethiopian (highlight), and 15% Sumatran (depth).
Step 2: Choose Your Green Coffee Beans
Start by selecting 2–3 origins with complementary qualities. Some common options include:
-
Brazilian Santos: Smooth, nutty, chocolatey (great base).
-
Colombian Supremo: Balanced, caramel-like sweetness.
-
Ethiopian Yirgacheffe: Floral, citrusy brightness.
-
Sumatran Mandheling: Earthy, full-bodied, spicy.
-
Guatemalan Antigua: Sweet, cocoa-spice complexity.
-
Kenyan AA: Wine-like, fruity acidity.
You can purchase high-quality green beans in small quantities from Home Roasting Supplies.
Step 3: Decide Roast Levels Before Blending
How you roast each component dramatically impacts the blend:
-
Light Roast: Retains acidity and floral notes (good for highlight beans).
-
Medium Roast: Balances body and sweetness (ideal for base beans).
-
Dark Roast: Adds bold, smoky tones and reduces acidity (great for depth beans).
Roast Separately vs Roast Together
-
Separate Roasting: Roast each bean individually to its ideal level, then blend. Produces the most control and consistency.
-
Together Roasting: Roast the mix all at once. Easier, but risks uneven development if beans differ in density or size.
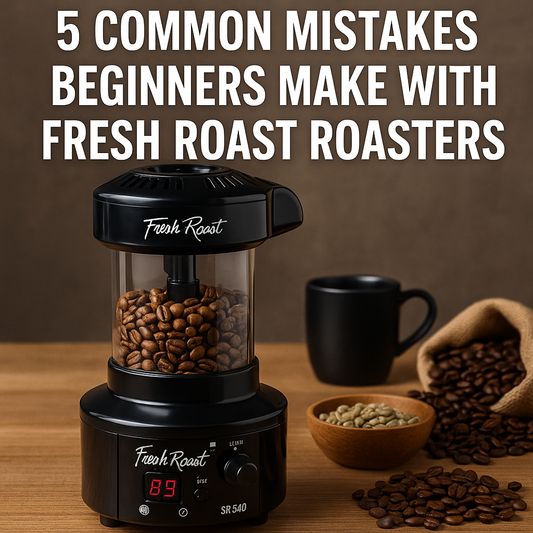
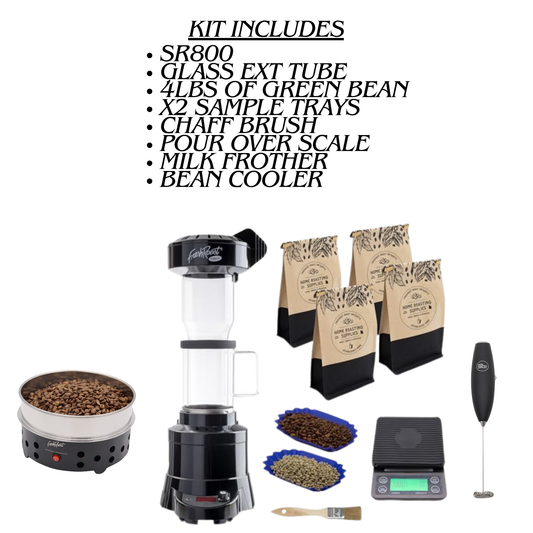
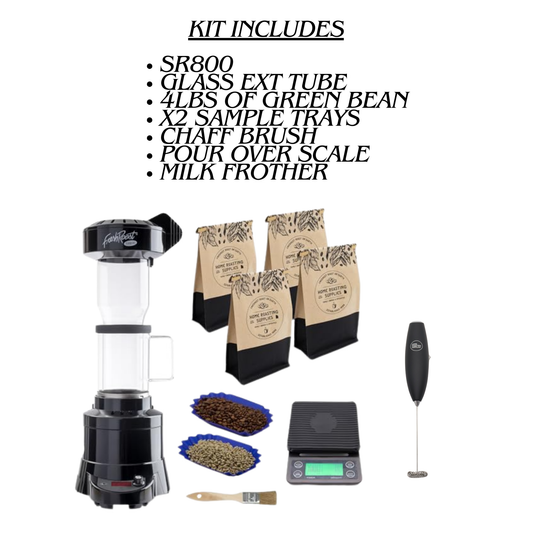
For Fresh Roast beginners, separate roasting with the SR540 or SR800 is the best way to fine-tune results. The Fresh Roast Bean Roaster and Cooler combo deal, also speeds up the entire blending and roasting process, making it easier to start enjoying customized coffee blends!
Step 4: Start with Simple Ratios
Blending is about experimentation, but some ratios provide a reliable starting point:
-
50/50 Blend: Equal parts of two origins (simple, easy to compare).
-
60/30/10 Blend: One base bean dominates, while highlights and depth beans play supporting roles.
-
70/30 Blend: A strong base with one accent bean.
Example Beginner Blends
-
Balanced Everyday Cup: 60% Colombian, 40% Brazilian (smooth, chocolatey, balanced).
-
Bright Morning Blend: 70% Brazilian, 30% Ethiopian (nutty base with citrus lift).
-
Bold Espresso Blend: 50% Sumatran, 30% Colombian, 20% Ethiopian (heavy body with caramel and fruit).
Step 5: Record and Refine
Keep a notebook or spreadsheet of each blend, including:
-
Origins and percentages
-
Roast level for each bean
-
Final brew method (drip, French press, espresso)
-
Tasting notes
Over time, you’ll identify patterns and create blends perfectly suited to your palate.
Specialty Coffee Association provides tools for tracking sensory notes and blend profiles.
Step 6: Match Blends to Brewing Methods
Different blends shine with specific brewing styles:
-
Pour-Over: Highlights acidity and floral notes—great for Ethiopian-heavy blends.
-
French Press: Emphasizes body and depth—perfect for Sumatran-heavy blends.
-
Espresso: Needs balance and crema—best with 3-bean blends (base + highlight + depth).
Questions we get about home roasting
Q: Can I blend roasted beans instead of green beans?
Yes. You can roast separately, then combine roasted beans into one blend. This is the most common method for home users.
Q: Do I need to rest beans before blending?
Yes. Let each roast rest for 24–48 hours before blending to allow flavors to stabilize.
Q: Can I use only two beans in a blend?
Absolutely. Many professional blends use just two beans to achieve balance.
Q: What if I don’t like my blend?
That’s part of the process! Adjust ratios, roast levels, or swap origins until you find the sweet spot.
Blending coffee at home is both an art and a science. By experimenting with different origins, roast levels, and ratios, you can create blends that rival your favorite café’s signature roast. With tools like the Fresh Roast SR540 and SR800, you have everything you need to explore endless possibilities.
So grab your beans, fire up your roaster, and start creating your very own custom blends today.
Tags:
Previous
Step-by-Step Guide to Roasting Light, Medium, and Dark Coffee at Home
Next
The Science of Coffee Roasting: Heat, Time, and Airflow Explained