


Step-by-Step Guide to Roasting Light, Medium, and Dark Coffee at Home
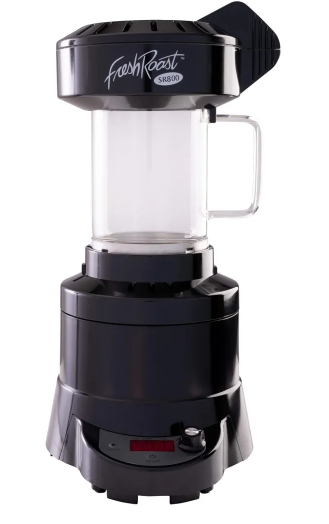
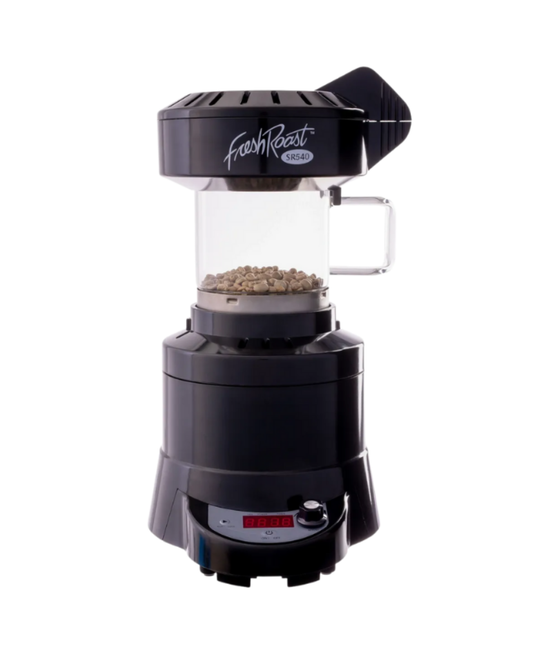
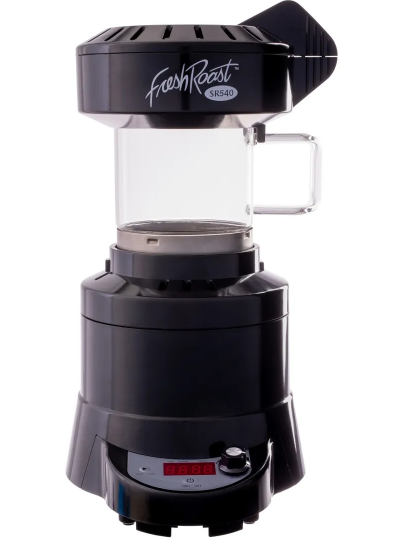
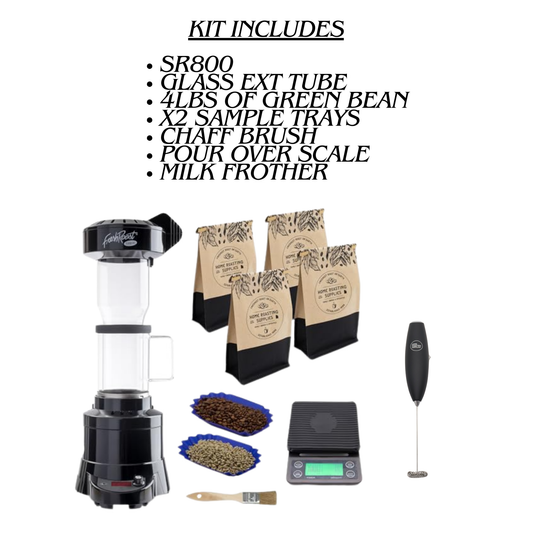
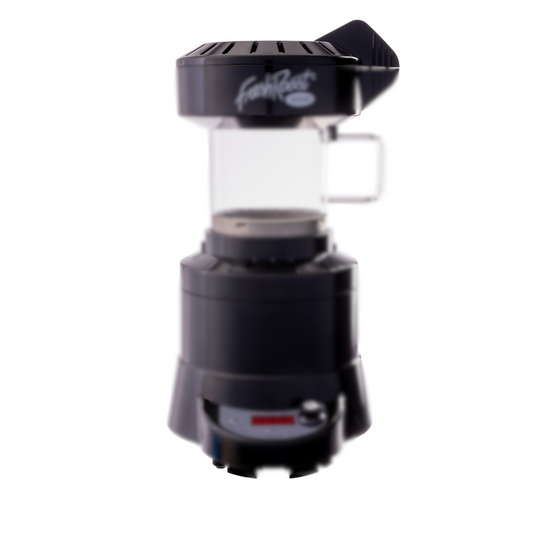
Few things compare to the aroma of freshly roasted coffee beans filling your kitchen. As a home roaster, one of the most exciting parts of the journey is learning how to master different roast levels: light, medium, and dark. Each profile unlocks unique flavors, aromas, and textures in your cup. And with a Fresh Roast fluid-bed roaster, like the SR540 or SR800, the process is faster, easier, and more affordable than you might think.
In this guide, we’ll break down each roast level, explain what to look for, and provide step-by-step instructions to help you roast coffee at home with confidence.

Understanding Roast Levels
Before diving into the steps, it’s important to know what distinguishes each roast level.
-
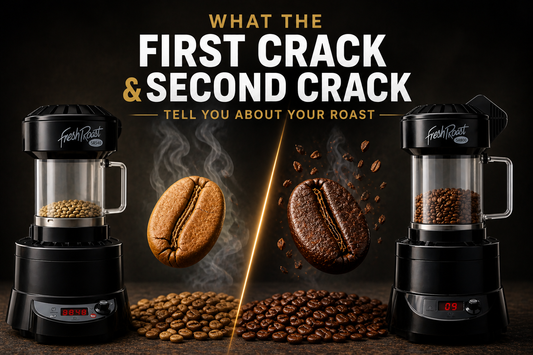
Light Roast: Bright, acidic, tea-like body, highlights bean origin flavors. Typically finished just after first crack.
-
Medium Roast: Balanced acidity and body, caramelized sweetness, crowd-pleaser profile. Stopped between the end of first crack and just before second crack.
-
Dark Roast: Bold, rich, heavy-bodied, with smoky or chocolatey notes. Pushed into or just past second crack.
External Resource: Specialty Coffee Association explains roast levels in detail, including their impact on flavor and brewing.
Step 1: Prepare Your Equipment
Before you roast, make sure everything is ready:
-
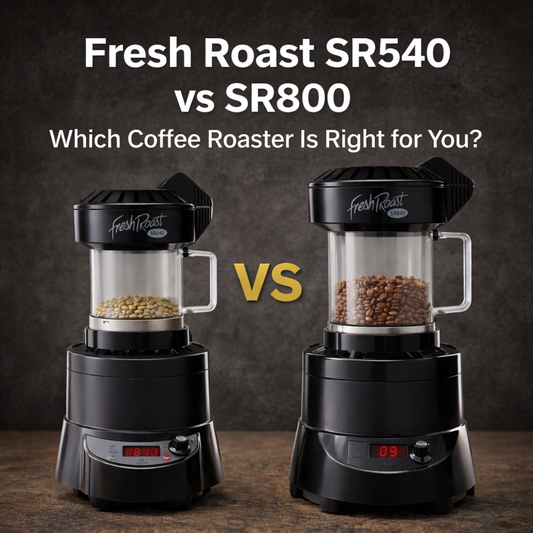
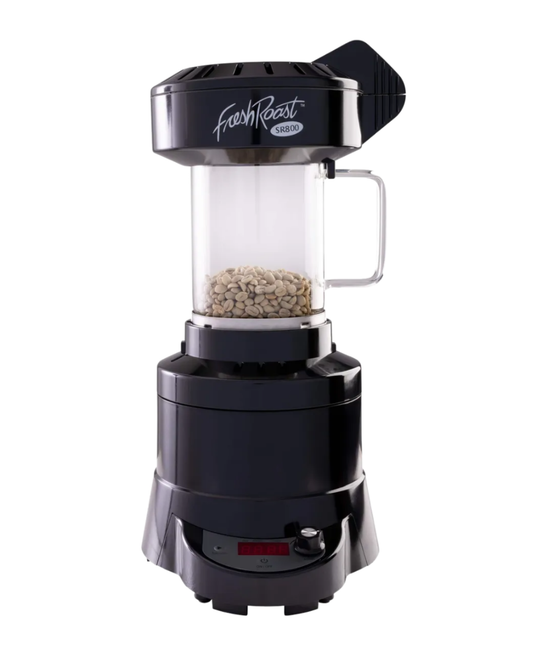
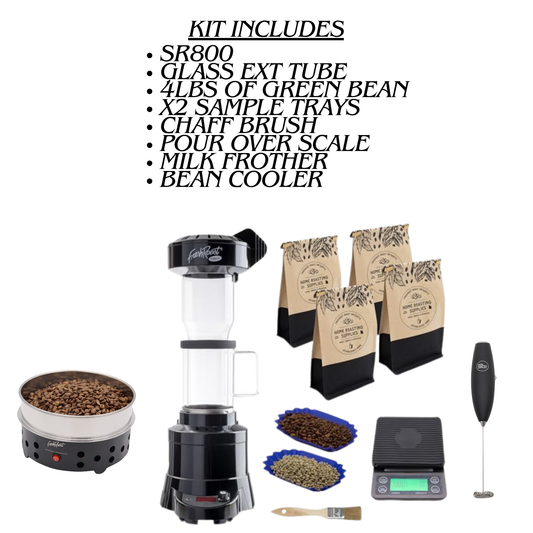
Roaster: Choose your model (Fresh Roast SR540 for smaller batches, SR800 for larger volumes).
-
Green Coffee Beans: Start with high-quality beans. Varieties like Ethiopian (bright), Colombian (balanced), or Sumatran (earthy) highlight differences across roast levels.
-
Scale: Measure exact batch sizes (~120g for SR540, ~226g for SR800).
-
Cooling System: Use the built-in cooling cycle or a dedicated bean cooler for faster results.
-
Notebook/Log: Track time, heat, fan settings, and tasting notes.
Step 2: Light Roast (City Roast)
Flavor Profile
-
Bright acidity
-
Fruity or floral notes
-
Distinct bean origin flavors
When to Stop
-
Roast until just after first crack.
-
Avoid reaching second crack.
Step-by-Step
-
Preheat your roaster for ~30 seconds.
-
Add beans (stick to recommended batch size).
-
Set fan and heat levels to medium-high to encourage bean movement and even roasting.
-
Listen closely: first crack usually occurs around 4–6 minutes.
-
Once cracking slows, stop the roast.
-
Immediately start the cooling cycle or transfer to a bean cooler.
Brewing Pairings
-
Best for pour-over or AeroPress.
-
Enhances clarity and complexity in flavor.
Step 3: Medium Roast (Full City)
Flavor Profile
-
Balanced acidity and body
-
Notes of caramel, chocolate, and nuts
-
Slightly muted origin character compared to light roast
When to Stop
-
After first crack is complete.
-
Just before the start of second crack.
Step-by-Step
-
Start with medium fan and heat settings.
-
Note first crack at 5–7 minutes.
-
Continue roasting for 1–2 minutes after first crack ends.
-
Watch bean color: medium brown with no surface oils.
-
Stop roast before hearing second crack.
-
Cool beans quickly.
Brewing Pairings
-
Great for drip coffee makers and French press.
-
A versatile roast most drinkers enjoy.
Step 4: Dark Roast (Vienna, French, Italian)
Flavor Profile
-
Bold, smoky, heavy-bodied
-
Bitterness replaces acidity
-
Oils often visible on the bean surface
When to Stop
-
Push into or just past second crack.
-
Stop before beans become charred.
Step-by-Step
-
Start with lower fan setting to maintain heat intensity.
-
Pass through first crack, listening closely for second crack at ~8–10 minutes.
-
Once second crack begins, decide how dark you prefer:
-
Vienna Roast: At the start of second crack.
-
French Roast: Midway through second crack.
-
Italian Roast: Toward the end of second crack (very dark, oily).
-
-
Stop the roast immediately at your desired level.
-
Cool beans thoroughly.
Brewing Pairings
-
Ideal for espresso and moka pots.
-
Excellent for drinkers who prefer bold, smoky flavors.
External Resource: Perfect Daily Grind discusses how roast levels impact brewing and taste preferences.
Step 5: Resting the Beans
After roasting, beans need to degas CO₂. Beginners often brew too soon, but patience pays off.
-
Light Roasts: Rest 1–2 days.
-
Medium Roasts: Rest 2–3 days.
-
Dark Roasts: Rest 3–5 days.
Store in airtight, opaque containers away from light and heat. For long-term storage, vacuum seal or use CO₂-valve bags.
Step 6: Track Your Roast Profiles
Consistency is key. Each roast is an opportunity to learn.
-
Note the time of first and second crack.
-
Record fan and heat settings.
-
Write tasting notes after 24–48 hours.
Over time, you’ll build a playbook of profiles tailored to your taste.
FAQs
Q: How do I know when to stop roasting without burning the beans?
Listen for first and second crack, and watch the bean color. Stop roasting when the beans reach the appearance and sound cues for your desired level.
Q: Can I roast different origins to the same level?
Yes, but each origin reacts differently. For example, Ethiopian beans shine as light roasts, while Brazilian beans often excel at medium.
Q: Why does my roast taste grassy?
You likely stopped before first crack. Allow the roast to develop fully.
Q: Do I need special ventilation at home?
For small batches with a Fresh Roast roaster, light kitchen ventilation usually suffices. For frequent or dark roasts, a vented area is recommended.
Mastering roast levels is a journey of discovery. With the Fresh Roast SR540 or SR800, you can explore light, medium, and dark profiles right from your countertop. By tracking your roasts, practicing patience during bean resting, and pairing each roast with the right brew method, you’ll elevate every cup you brew.
Ready to experiment? Grab your Fresh Roast roaster and start exploring the world of roast profiles today.
Tags:
Previous
5 Common Mistakes Beginners Make with Fresh Roast Roasters (and How to Avoid Them)
Next
How to Blend Your Own Coffee at Home Using Fresh Roast Machines